
How you can make your very own vlogging kit!
Creating your perfect phone camera setup
February 24, 2022
Have you ever wanted to make your own YouTube channel or blog, but didn’t want to spend hundreds of dollars on a camera to record videos? That is no longer an issue with the current state of phone cameras and accessories.
Here are four tips and tricks that can completely revolutionize your footage quality.
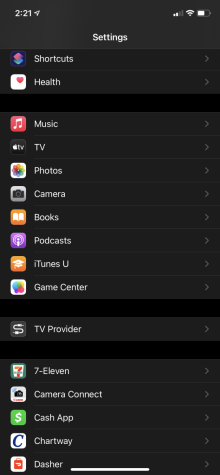
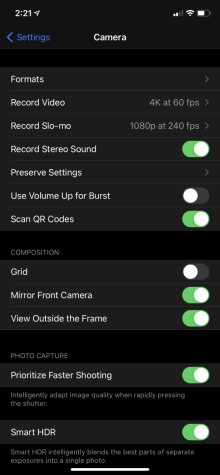
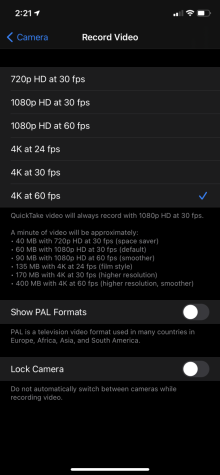
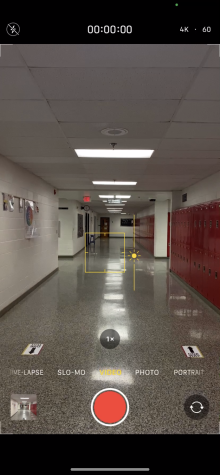
#1 Getting the best quality out of your iPhone
By simply going to (setting>camera>record video>4k at 60 fps) you can make your video reach the highest quality possible. One piece of advice for this would be to use 24 fps for scenes with little motion or camera movement, and 60 fps for scenes with lots of motion and camera movement.
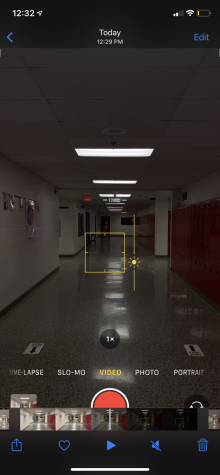
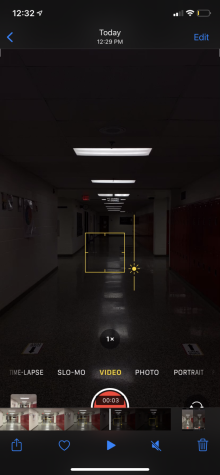
#2 Adjusting lighting
On an iPhone, you can actually adjust the lighting in your video by clicking the focal point in your screen and scrolling the light bulb up for a brighter picture or down for a darker picture. Another recommendation for lighting is to never have the lighting behind the subject be brighter than the subject themselves, as it will draw the attention of the viewer to the background rather than the subject.
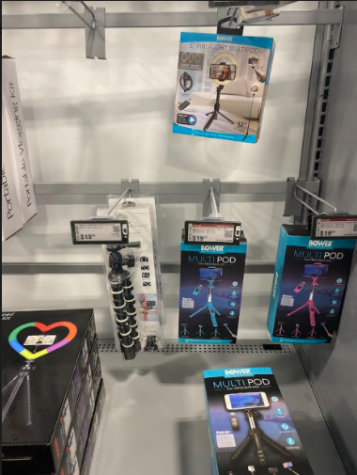
#3 Purchasing a tripod
Tripods can be very useful for many things such as getting b roll, filming yourself doing unboxings or walking, and even getting time lapses. Tripods can be found on Amazon, at Best Buy, or with a simple google search anywhere from 10 dollars to 50 dollars similar to the ones below.
#4 Editing on iMovie
iMovie, for most people, is the best editing software for many reasons, it is extremely easy to use, it does not take a lot of storage in their phones, it doesn’t lower the quality of video, and it does not leave any watermarks on your finished product. Using iMovie is very simple and tutorial videos such as the ones below can be found all over the internet.
Hopefully, you have found this advice useful and can use it to create your very own vlog or YouTube channel.
